Manufacturing a Large-Scale Architectural Model with FDM 3D Printing
Physical models are playing an increasingly important role in modern architecture and real estate development projects. A rendering or digital 3D model is an important communication tool, but a hands-on, detailed architectural model provides a completely different level of experience and understanding for developers, investors, designers, and end users.
Building a model of a multi-story residential building, however, can be a serious technical challenge: the large size, fine details, correct material choice, and precise assembly all shape the quality of the final result.
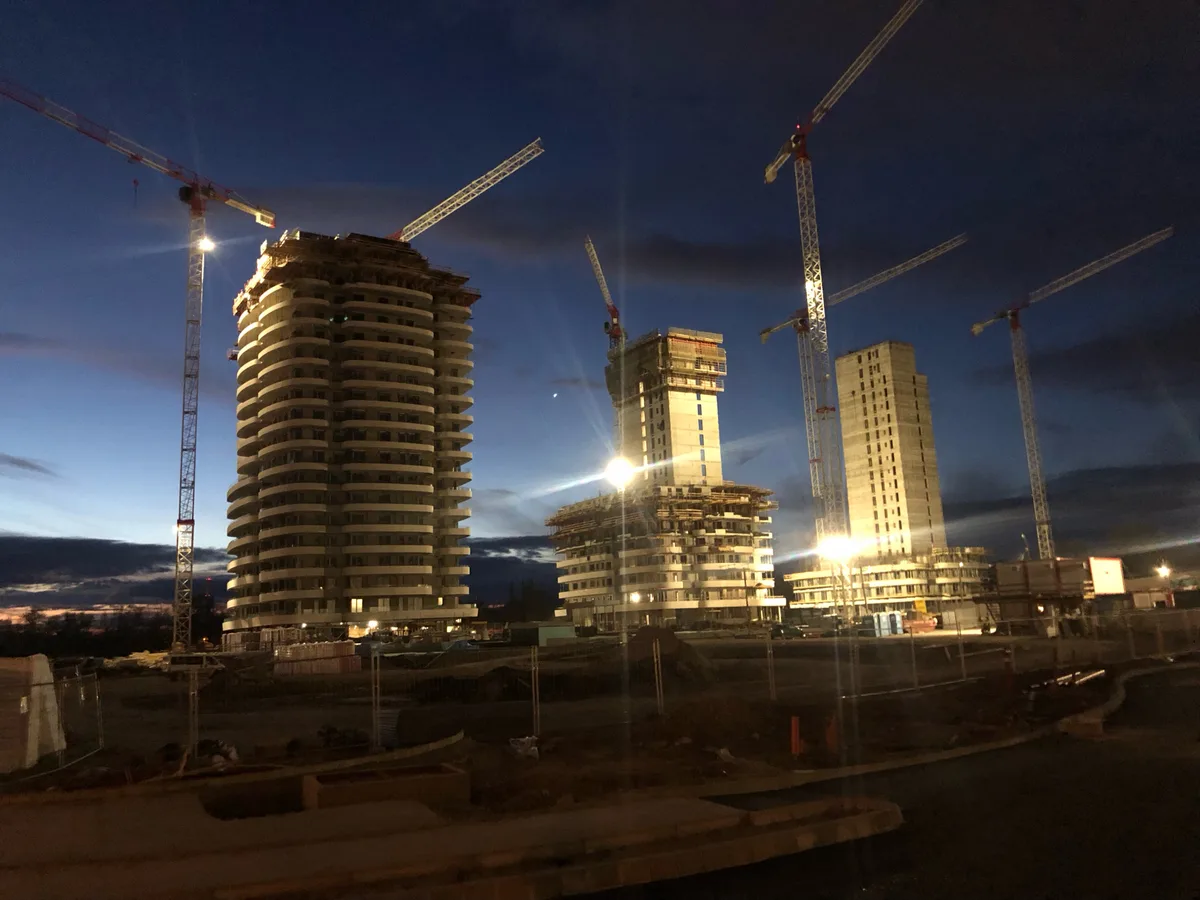
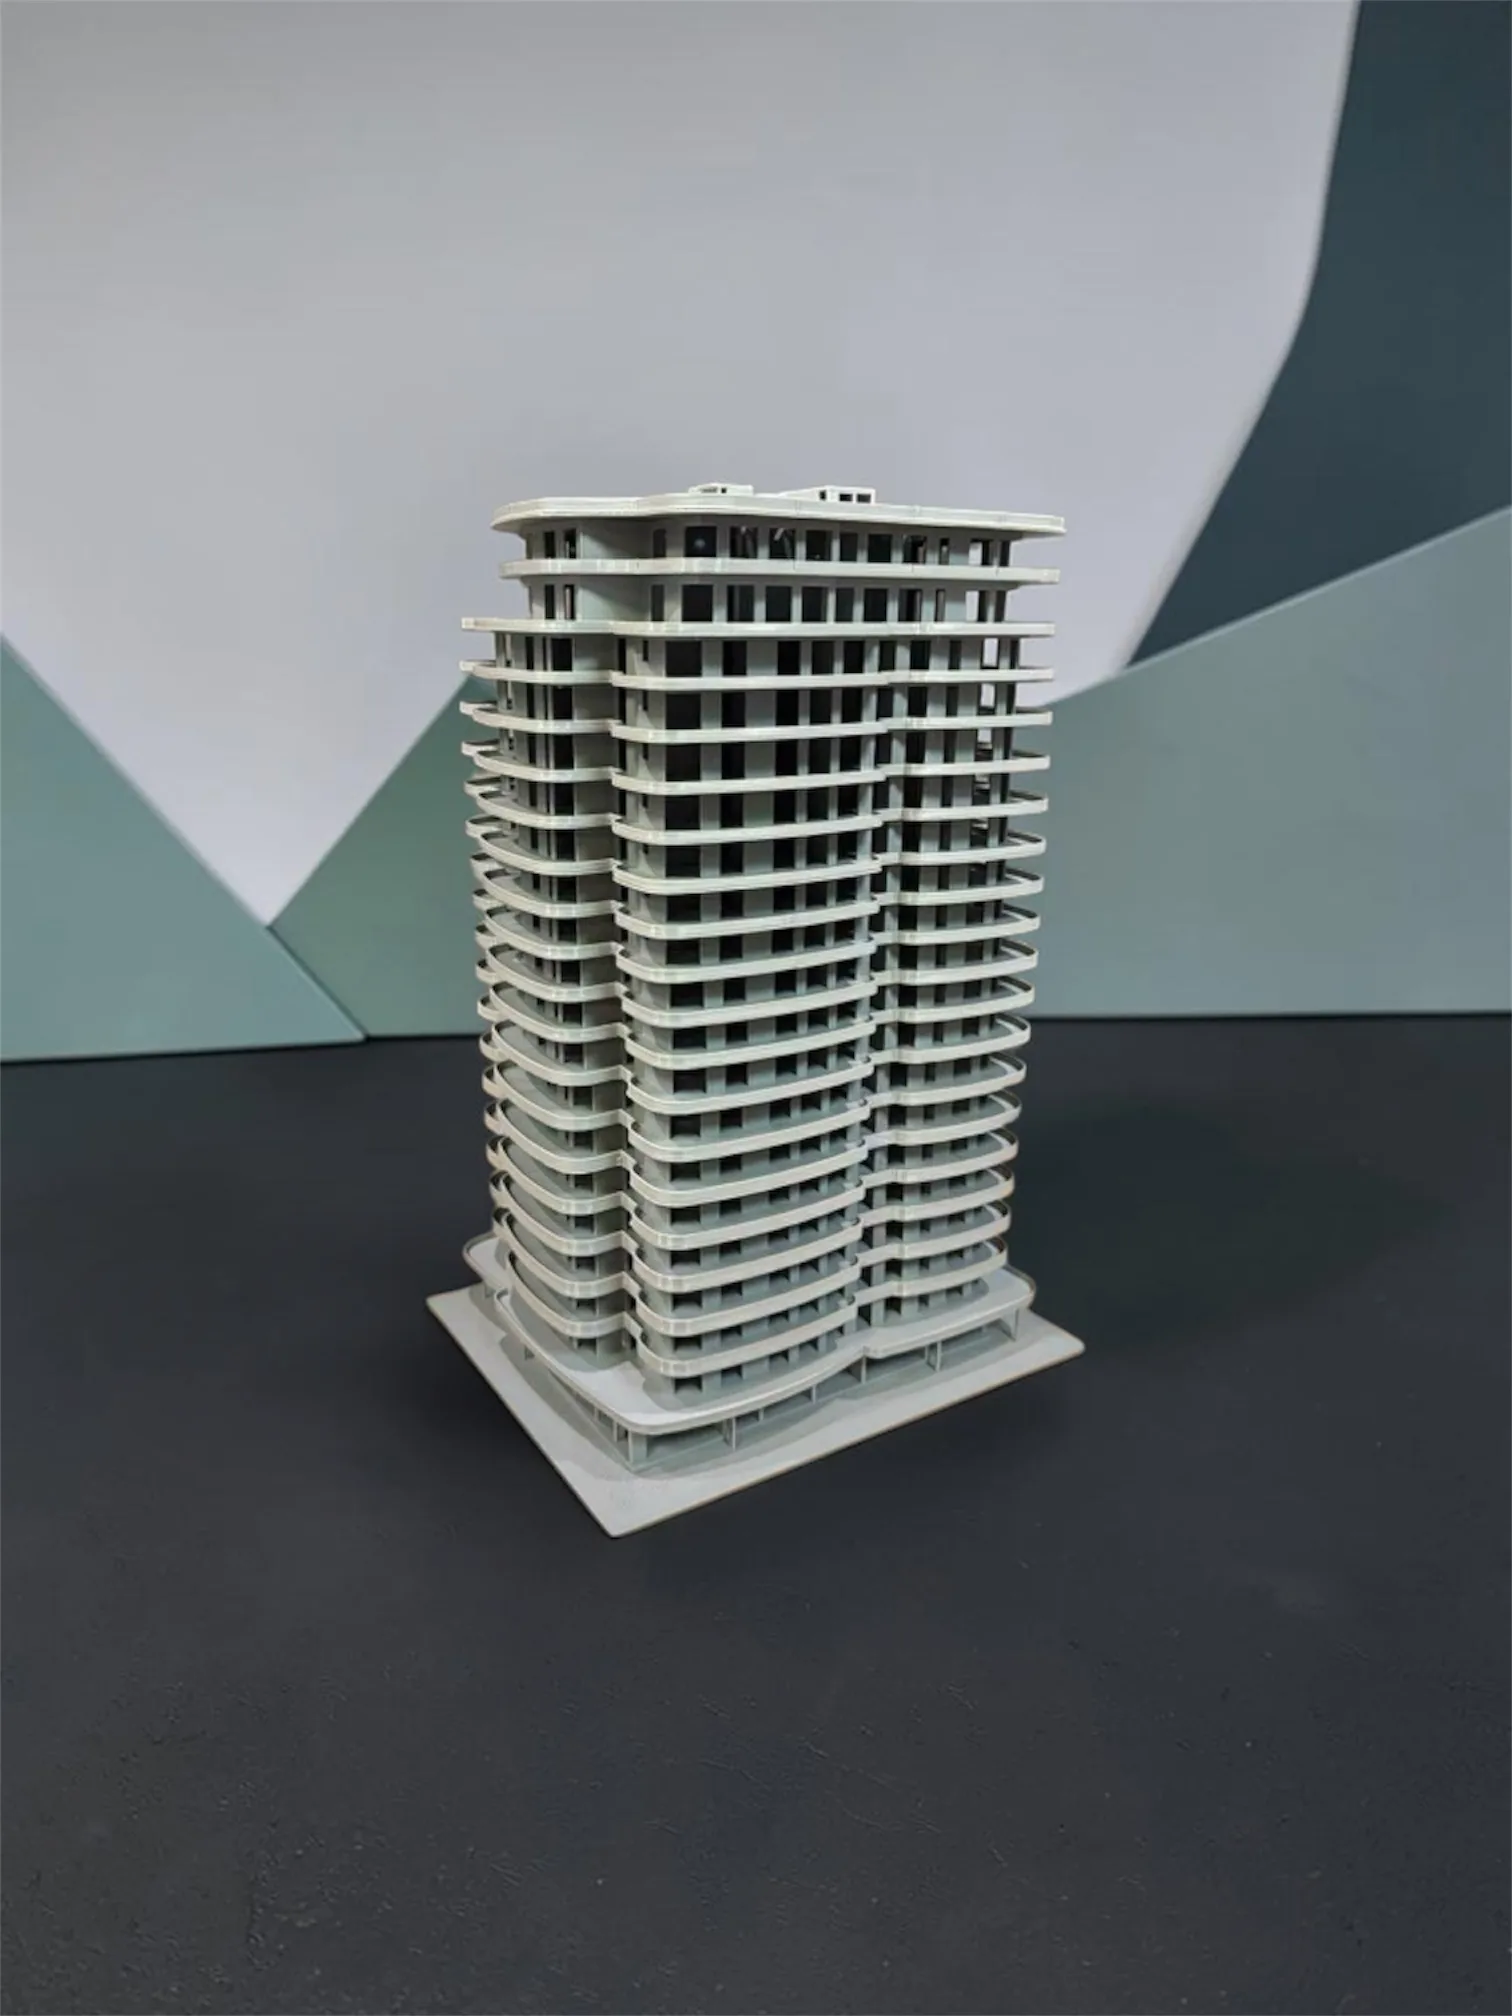
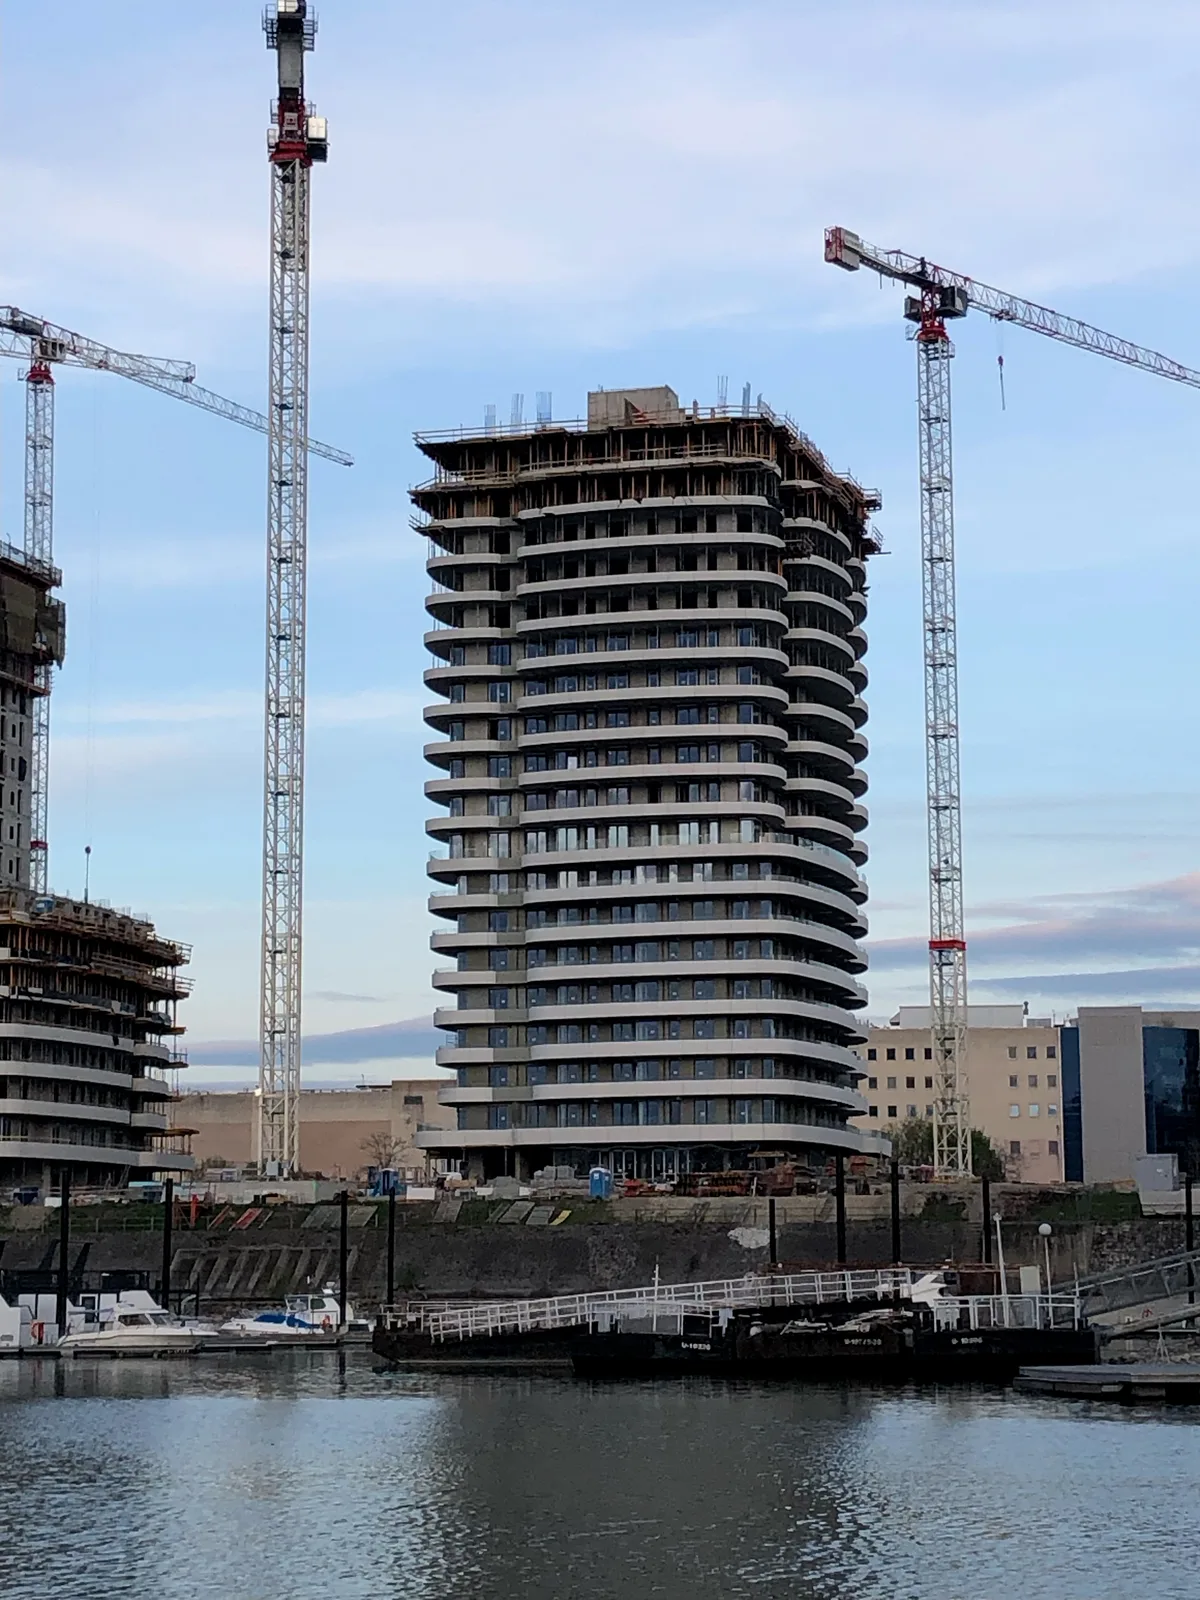
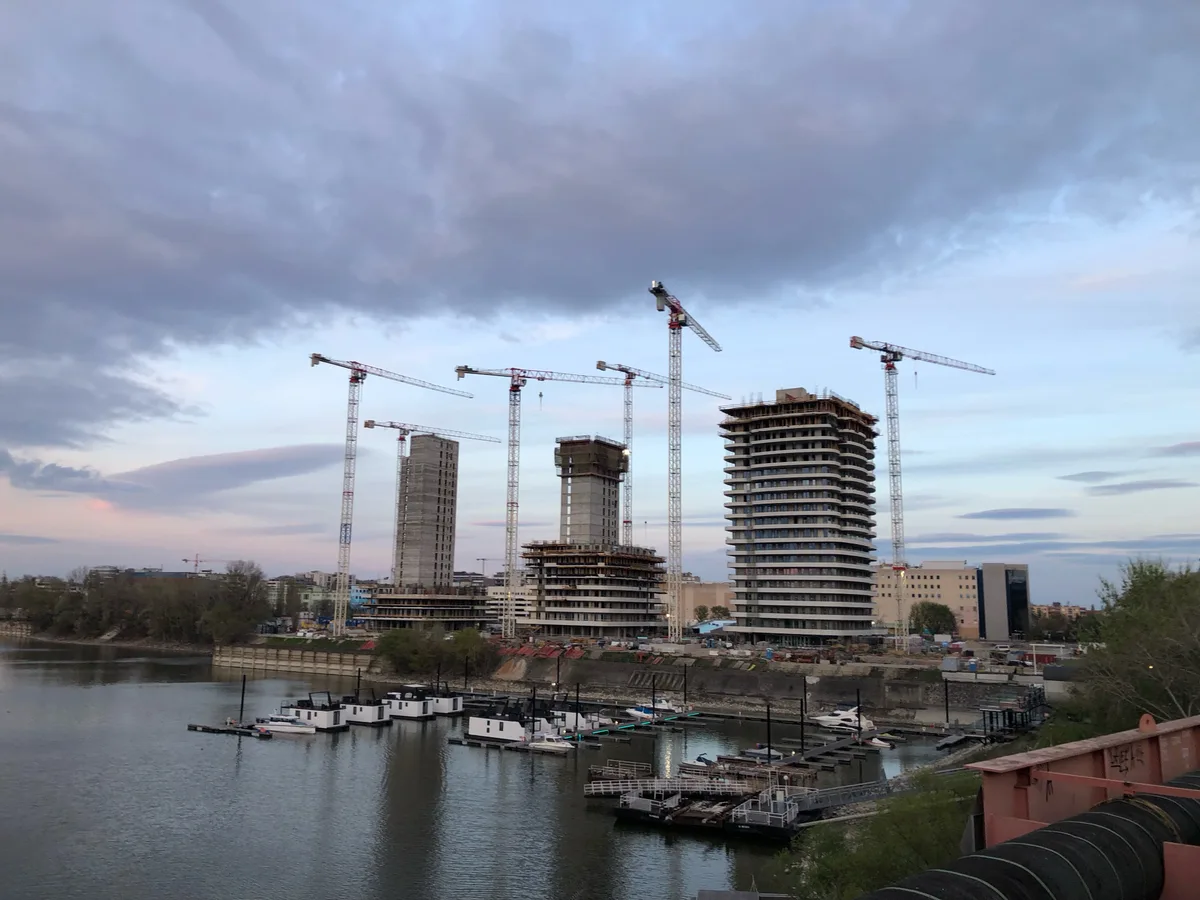
In a recent project, we manufactured a model of a multi-story building in a Marina residential development in Budapest using 3D printing technology. The project is a good example of how, with the right design and an industrial manufacturing mindset, 3D printing can be an effective alternative to traditional model-making methods — especially for large-scale, custom models.
Why does 3D printing benefit architectural model making?
Traditional architectural models are often built through manual workflows, which can involve significant time investment and high production costs. Each custom building requires its own separate production process, which limits how quickly changes can be made.
3D printing, by contrast, is a digital-first manufacturing process that can produce a physical object directly from an available CAD or 3D model.
The technology’s key advantages:
- Fast prototyping: a physical model can be produced from a digital model in a short time.
- High geometric freedom: complex architectural forms can also be reproduced.
- Easy modification: changes don’t require restarting production from scratch.
- Cost-effective for small batches or one-off production: no need for expensive tooling or molds.
This is especially valuable for real estate developers, architecture firms, and investors who often want to showcase a planned building even before construction begins.
The technical challenges of manufacturing a 60 cm architectural model
The goal of this project was to produce an approximately 60 cm tall, multi-story building model. At this size, it’s no longer a simple decorative object but a complex manufacturing task that demands an engineering mindset.
The starting model arrived in STL format, already broken down into the building’s floor-by-floor geometry.
Several important engineering decisions had to be made during manufacturing:
- selecting the right 3D printing technology,
- verifying the manufacturability of the parts,
- optimizing support structures,
- designing an assembly strategy,
- ensuring post-processing quality and assemblability.
FDM or MSLA? Choosing the right technology
One of the most important decisions in any additive manufacturing project is choosing the right technology.
Two main technologies were in the running here:
- FDM (Fused Deposition Modeling)
- MSLA (Masked Stereolithography)
Both technologies have their advantages, but based on the project’s goals, FDM proved to be the optimal choice. (For more on how these printing technologies work, see our earlier article: How Does a 3D Printer Work?)
Why we chose FDM
For a 60 cm architectural model, the total volume of the model is substantial. With MSLA-based manufacturing:
- a large amount of resin is required,
- material costs are higher,
- production volume is more limited for larger parts,
- post-processing is more time-consuming.
FDM technology, by contrast:
- is more economical for larger-volume models,
- is more stable for manufacturing large structural elements,
- scales more easily,
- automates well in an industrial environment.
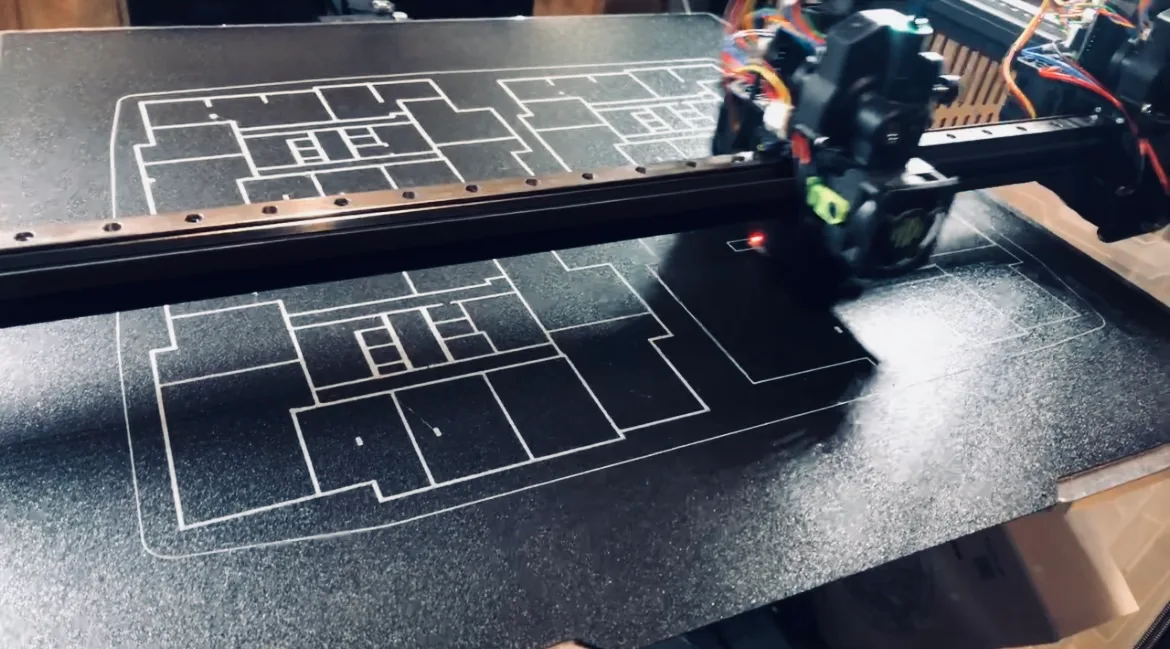
We chose grey PETG filament as the material, which strikes the right balance between mechanical stability, dimensional accuracy, printability, and an aesthetically pleasing surface.
Manufacturing parts with 3D printing: breaking the model into layers
For a model this large, manufacturing the entire geometry as a single piece would not have been practical.
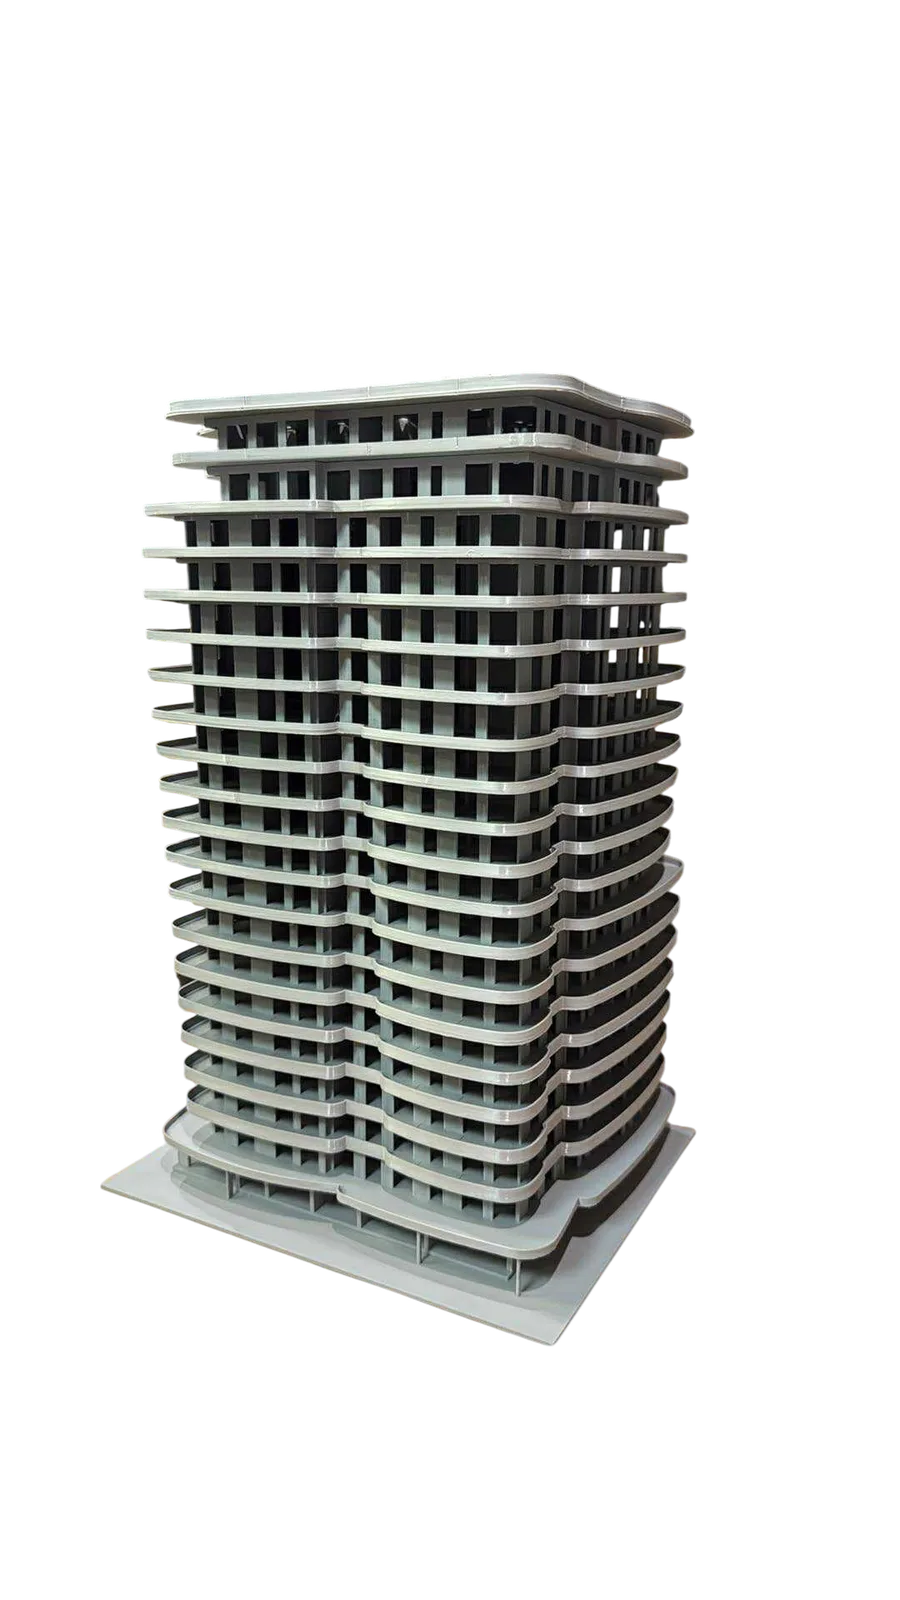
We therefore manufactured the model as 21 separate levels.
This approach had several advantages:
- lower print height,
- a more stable manufacturing process,
- simpler error handling,
- easier transport,
- more precise assembly.
Each floor level was produced as a separate part. This, however, also meant serious preparation work.
Digital preparation and slicing strategy
One of the keys to successful 3D printing isn’t the printing itself, but proper preparation.
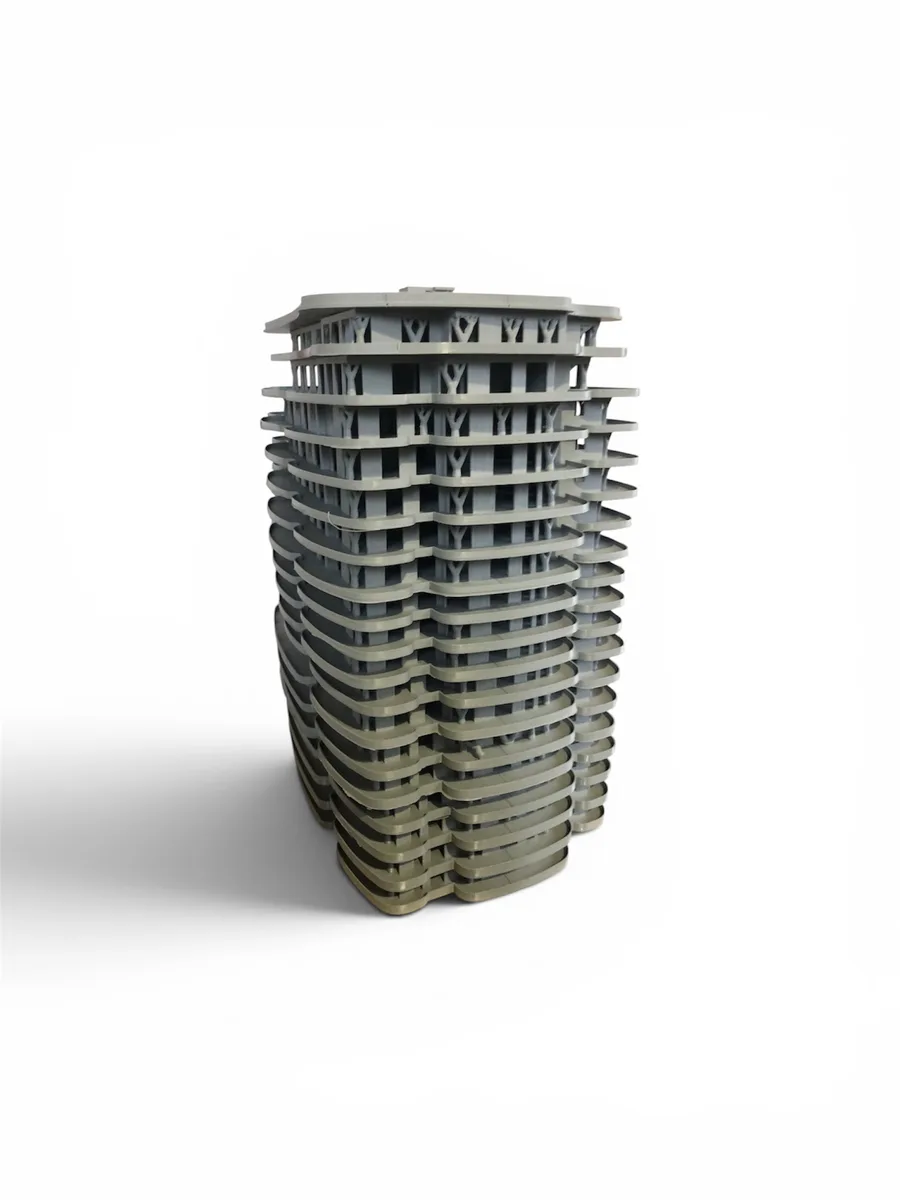
During the project, every single level had to be individually checked, oriented, sliced, fitted with support structures, and optimized for manufacturing.
We paid close attention to only using supports where truly necessary. Excessive support use increases material consumption, extends production time, degrades surface quality, and requires more post-processing.
For this reason, we only used support structures at critical corner points, larger horizontal surfaces, and significant ceiling sections.
Precision assembly: how do 21 printed parts become one architectural model?
For a multi-level model, one of the biggest challenges is the precise fit of the parts.
Since every level had a different geometry, we needed a system that ensured straightforward assembly.
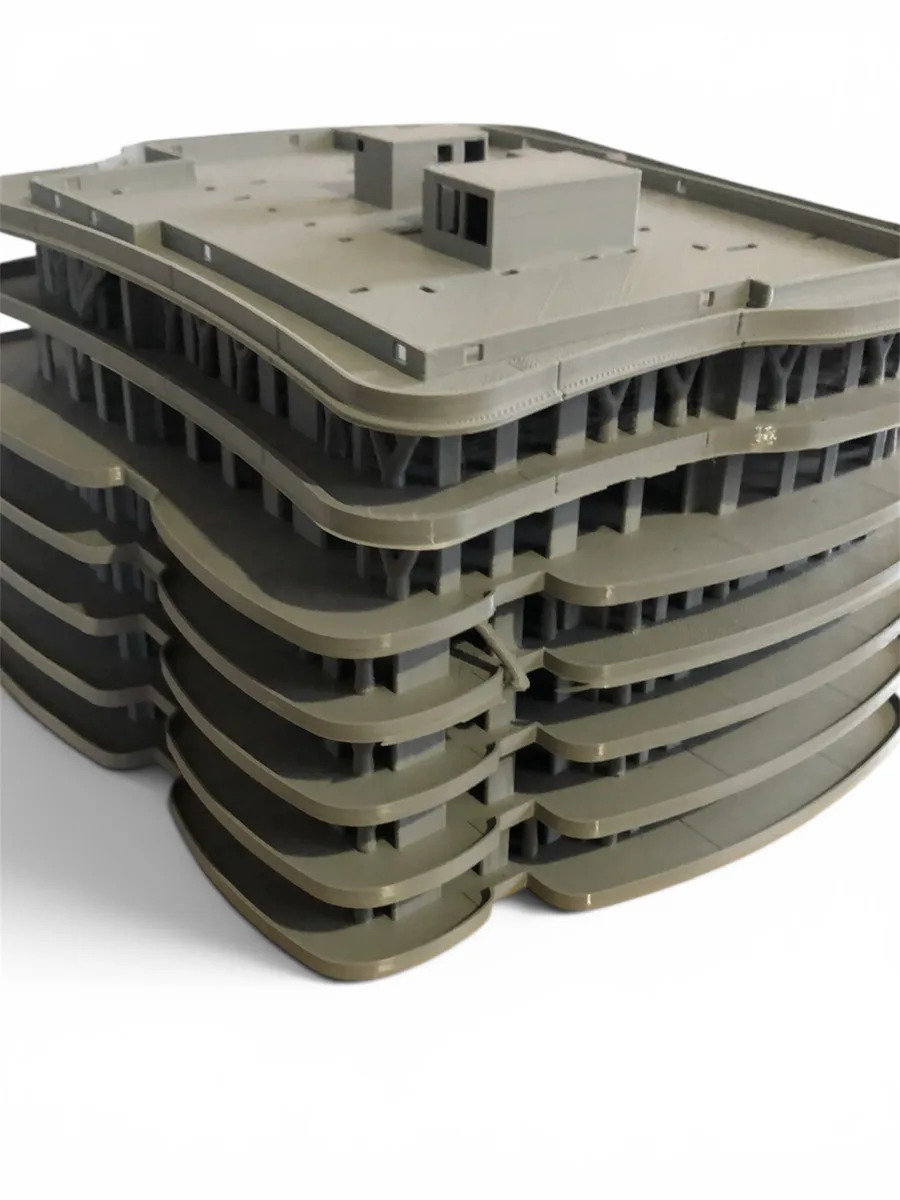
During production, we marked every floor element with temporary labels so that, during assembly, it would be clear which level goes where, in what order construction happens, and how correct alignment is ensured.
This manufacturing approach reflects one of the core principles of industrial parts manufacturing: assemblability and usability must be considered as early as the design phase.
Manufacturing parameters used
The following technological parameters were used during the project:
| Parameter | Value |
|---|---|
| Technology | FDM |
| Material | Grey PETG |
| Layer height | 0.2 mm |
| Nozzle diameter | 0.4 mm |
| Printer | RatRig V-Core 4 500 mm IDEX |
| Number of parts produced | 21 levels |
The chosen 0.2 mm layer height struck the right balance between detail and production time.
For architectural models, maximum resolution isn’t always the goal. The most important factors are the overall model’s visual cohesion, geometric accuracy, and reliable assemblability.
When is industrial 3D printing worth choosing for architectural models?
3D printed models are especially useful in the following areas:
Real estate development
During a development’s sales phase, a physical model can help inform potential buyers, support investor presentations, and aid sales negotiations.
Architecture
It gives designers the opportunity to verify massing, examine spatial proportions, and present concepts.
Industrial and engineering projects
The technology isn’t limited to models. The same manufacturing mindset applies to prototype parts, small-batch production, custom mechanical components, and reverse-engineered parts — see our parts manufacturing services for more detail.
The role of 3D scanning and reverse-modeling in custom manufacturing
While this project worked from a finished digital model, in many cases the starting geometry isn’t available — in those situations, the process begins with 3D scanning and reverse-modeling: digitizing the physical object, building CAD geometry from the point cloud, making manufacturability adjustments, and then producing the final part.
This matters especially when replacing old parts, when no production documentation is available, or when small-batch production is the economical solution. In an earlier project, remanufacturing a VW Golf 2 throttle lever, we followed exactly this path to replace a discontinued part.
Summary
Successful 3D printing isn’t just about operating a printer — it requires engineering design experience, the right technology choice, material knowledge, and manufacturing optimization. Choosing the right technology often has a bigger impact on the end result than print speed or maximum resolution.
Whether it’s an architectural model, a prototype, or small-batch parts manufacturing, our engineering-background team can help you find the right manufacturing solution — get a quote for our 3D printing services, and let’s plan the optimal process together.
Related Articles
Planning a Similar Project?
Send us your model or drawing — free consultation, with personalized quotes within 24 hours.